Core training without crunches sounds like a contradiction, but it is how most coaches build a strong, stable midsection. This four-week programme swaps endless sit-ups for planks, dead bugs, carries and band work that teach your trunk to resist movement. It is written for beginners, needs very little equipment, and takes about 20 to 25 minutes a session.
If you are brand new to exercise, our guide on how to start working out as a complete beginner is a good companion read.
\n\n\n\n
Why Skip Crunches in Your Core Training
Crunches are not dangerous for everyone, but they are a narrow tool. They train one job, bending the spine forward, and they do it repeatedly under load. Most daily life and sport asks your core to do the opposite: keep the spine steady while your arms and legs move.
That is why many coaches favour exercises that build stability. You still work the abdominal muscles, but you also train the deeper muscles that brace the trunk and the hips and back muscles that share the load. Crunches can still have a place if you enjoy them and they feel fine, but they are not required for a strong core.
What Your Core Actually Does
Your core is a group of muscles around the trunk, not just the visible abs. It includes the rectus abdominis, the obliques, the deep transverse abdominis, the spinal erectors, the glutes and the diaphragm. Together they work as a brace. This programme trains that brace in three ways:
- Anti-extension: stopping your lower back from arching, as in planks and dead bugs.
- Anti-rotation: resisting a twist, as in Pallof presses and bird dogs.
- Lateral stability: keeping your sides strong, as in side planks and suitcase carries.
Mayo Clinic notes that core exercises can help with balance and stability for everyday activities, which is a useful way to think about the goal. You can read their overview of core exercises for more background.
The 4-Week Core Programme at a Glance
Train three days a week with at least one rest day between sessions, for example Monday, Wednesday and Friday. Each session starts with a two-minute warm-up of easy marching, hip circles and cat-cow stretches. Move slowly, breathe steadily and stop any exercise that causes sharp pain.
- Week 1: learn the positions with short, easy holds.
- Week 2: add a little time and a simple carry.
- Week 3: make the exercises harder with longer levers and bands.
- Week 4: combine everything into a full circuit and retest.
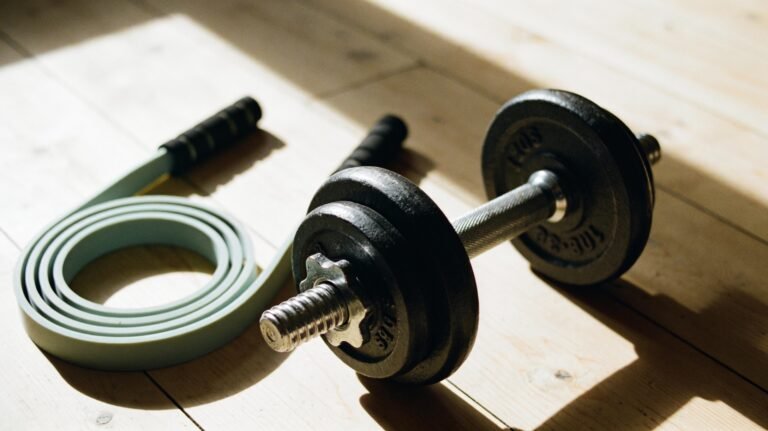
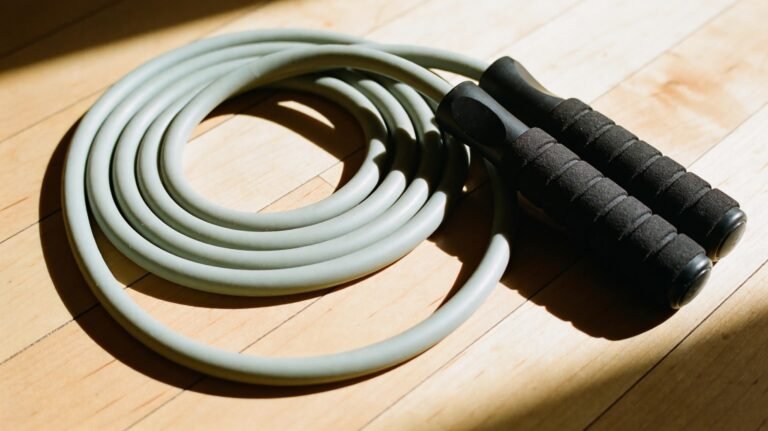
You will need a mat. A light resistance band and one dumbbell or a heavy bag are helpful from week two, but a backpack with books works as a substitute.
Week 1: Learn the Positions
This week is about quality. Do each exercise for the time or reps shown, rest 30 to 45 seconds between rounds, and complete 2 rounds.
- Dead bug: lie on your back with knees over hips and arms up. Lower the opposite arm and leg slowly while keeping your lower back gently pressed toward the floor. 6 reps per side.
- Front plank on knees or toes: forearms under shoulders, body in a straight line. Hold 15 to 20 seconds.
- Bird dog: on hands and knees, extend the opposite arm and leg without letting your hips rock. 6 reps per side.
- Glute bridge: lift your hips until your body forms a line from shoulders to knees. 10 reps, pausing for a second at the top.
Focus on what the exercise should feel like. If you feel it mostly in your lower back, shorten the range, slow down or return to an easier version. Our core workout at home for beginners has more options if you want extra variations.
Week 2: Build Time Under Tension
Keep the same exercises, add a little time, and bring in a first loaded carry. Complete 2 to 3 rounds.
- Dead bug: 8 reps per side.
- Front plank: hold 25 to 30 seconds, building toward 40 seconds when it feels solid.
- Side plank from knees: hold 15 to 20 seconds per side, with your top hip stacked over the bottom one.
- Bird dog with a pause: hold each extension for 3 seconds, 8 reps per side.
- Suitcase carry: hold one dumbbell or loaded bag at your side and walk 20 to 30 steps without leaning. Swap hands and repeat.
The suitcase carry looks easy and is not. Your side muscles work hard to stop you tipping toward the weight, which is exactly the lateral stability this programme is after.
Week 3: Add Challenge
This is where the training starts to feel harder. Aim for 3 rounds if your technique stays clean, otherwise stay at 2.
- Long-lever dead bug: straighten the legs a little more as you lower them. 8 reps per side.
- Front plank on toes: hold 30 to 45 seconds.
- Side plank on feet: hold 20 to 30 seconds per side.
- Pallof press: anchor a band at chest height, stand side-on and press your hands straight out without letting the band twist you. 8 to 10 reps per side.
- Plank shoulder taps: from a high plank, tap one shoulder at a time while keeping the hips still. 6 to 10 taps per side.
A sensible rule is to progress by roughly 10 percent a week, as the old guidance goes, but treat that as a guide rather than a law. If a movement makes your form fall apart, go back one step. Strong form beats an impressive-looking hold.
Week 4: Put It All Together and Retest
Now run the exercises as a circuit. Do each move once, rest 30 seconds, then repeat the circuit 3 times. On the last session, retest your plank for the longest clean hold you can manage.
- Dead bug, 10 reps per side
- Front plank, 40 to 60 seconds
- Pallof press, 10 reps per side
- Side plank, 25 to 40 seconds per side
- Suitcase carry, 30 to 40 steps per side
- Glute bridge march, 8 to 10 reps per side
Compare your retest with the plank you did in week one. Many beginners find they can hold noticeably longer, though results vary with sleep, stress, nutrition and how consistently you trained.
How to Track Progress and Keep Going
Write down your holds and reps after each session. Notes like how steady you felt, or whether your back stayed quiet, are as valuable as numbers. Improvements in control often show up before changes in how your midsection looks.
Recovery matters too. Your core muscles adapt between sessions, so keep your rest days and protect your sleep. Our guides on why rest days are essential and sleep habits for fitness explain why. After week four, repeat the programme with longer holds, or fold these moves into a 20-minute home workout.
Visible abs depend largely on overall body fat, which core exercises alone do not control. This programme builds strength and stability, not a guaranteed look.
Common Mistakes to Avoid
- Holding your breath. Breathe slowly through every hold; bracing does not mean stopping air.
- Letting the lower back sag in planks. End the set when your hips drop, even if the clock says otherwise.
- Rushing the dead bug. Slow reps are harder and more useful than fast ones.
- Training too often. Three sessions a week is plenty to start.
- Ignoring pain. Muscle effort is normal; sharp or radiating pain is a reason to stop.
If you have back pain, pregnancy, a recent surgery, a hernia or any medical condition, speak with a doctor or physiotherapist before starting. Gentle mobility work, like the routine in our lower back stretching guide, can sit alongside this programme, but it does not replace personal medical advice. The NHS also offers general guidance on physical activity for adults.
Frequently Asked Questions
Can you train your core without doing crunches?
Yes. Planks, dead bugs, carries and band presses train the same muscles in the way they are used day to day. Many people find these exercises more comfortable and just as demanding as crunches.
How often should I do core exercises?
Two to three sessions a week works well for most beginners. Your core recovers like any other muscle group, so leaving at least a day between sessions gives it time to adapt. Daily training is rarely necessary and can lead to fatigue or sore lower backs.
How long until I notice a stronger core?
Many beginners feel steadier and hold positions longer within two to four weeks. Exact timing varies with sleep, nutrition, stress and consistency. Changes in appearance usually take longer and depend heavily on overall body composition rather than core training alone.
Do I need equipment for this programme?
No equipment is required for weeks one and two beyond a mat. A resistance band for the Pallof press and a dumbbell or loaded bag for carries are helpful later, and both can be swapped for household items if needed.
Your Next Step
A strong core is built by teaching your trunk to stay steady, not by counting sit-ups. Start with week one, keep the movements slow and clean, and give yourself the full four weeks before judging the result. Consistency is the part that works.
\n\n\n